How Mobile DNA Testing Works: A Step-by-Step Guide
DB
Introduction to Mobile DNA Testing
Mobile DNA testing offers a convenient and reliable way for individuals to access genetic testing services without the need to visit a laboratory or clinic. This innovative approach allows samples to be collected in the comfort of one's home, followed by a detailed analysis conducted by professionals. In this guide, we will explore how mobile DNA testing works, providing a comprehensive overview of the process from start to finish.

Step 1: Selecting a Mobile DNA Testing Service
The first step in the mobile DNA testing process is selecting a reputable service provider. It's essential to choose a company that offers reliable and accurate testing options. Consider factors such as the range of tests available, customer reviews, and accreditation from relevant authorities. Many providers offer tests for ancestry, health risks, and even paternity.
Reviewing the Test Options
Once you've narrowed down your choices, review the specific tests offered by each provider. Some companies may specialize in certain types of testing, such as genetic predispositions to diseases or ancestry tracking. Ensure the service you choose aligns with your specific needs and expectations.
Step 2: Ordering and Receiving the DNA Test Kit
After selecting a mobile DNA testing service, the next step is to order your test kit. Most companies provide an easy online ordering process. Once ordered, the kit will be shipped directly to your home, usually within a few days.

Understanding the Kit Contents
Your DNA test kit will typically include instructions, a sample collection tool (such as a cheek swab or saliva collection tube), and a prepaid envelope for returning your sample. Make sure to read the instructions carefully to ensure accurate sample collection.
Step 3: Collecting Your DNA Sample
Collecting your DNA sample is a straightforward process. Most kits require you to swab the inside of your cheek or provide a saliva sample. Follow the instructions provided in your kit to ensure proper collection. It's crucial to avoid eating, drinking, or smoking at least 30 minutes before collecting your sample.
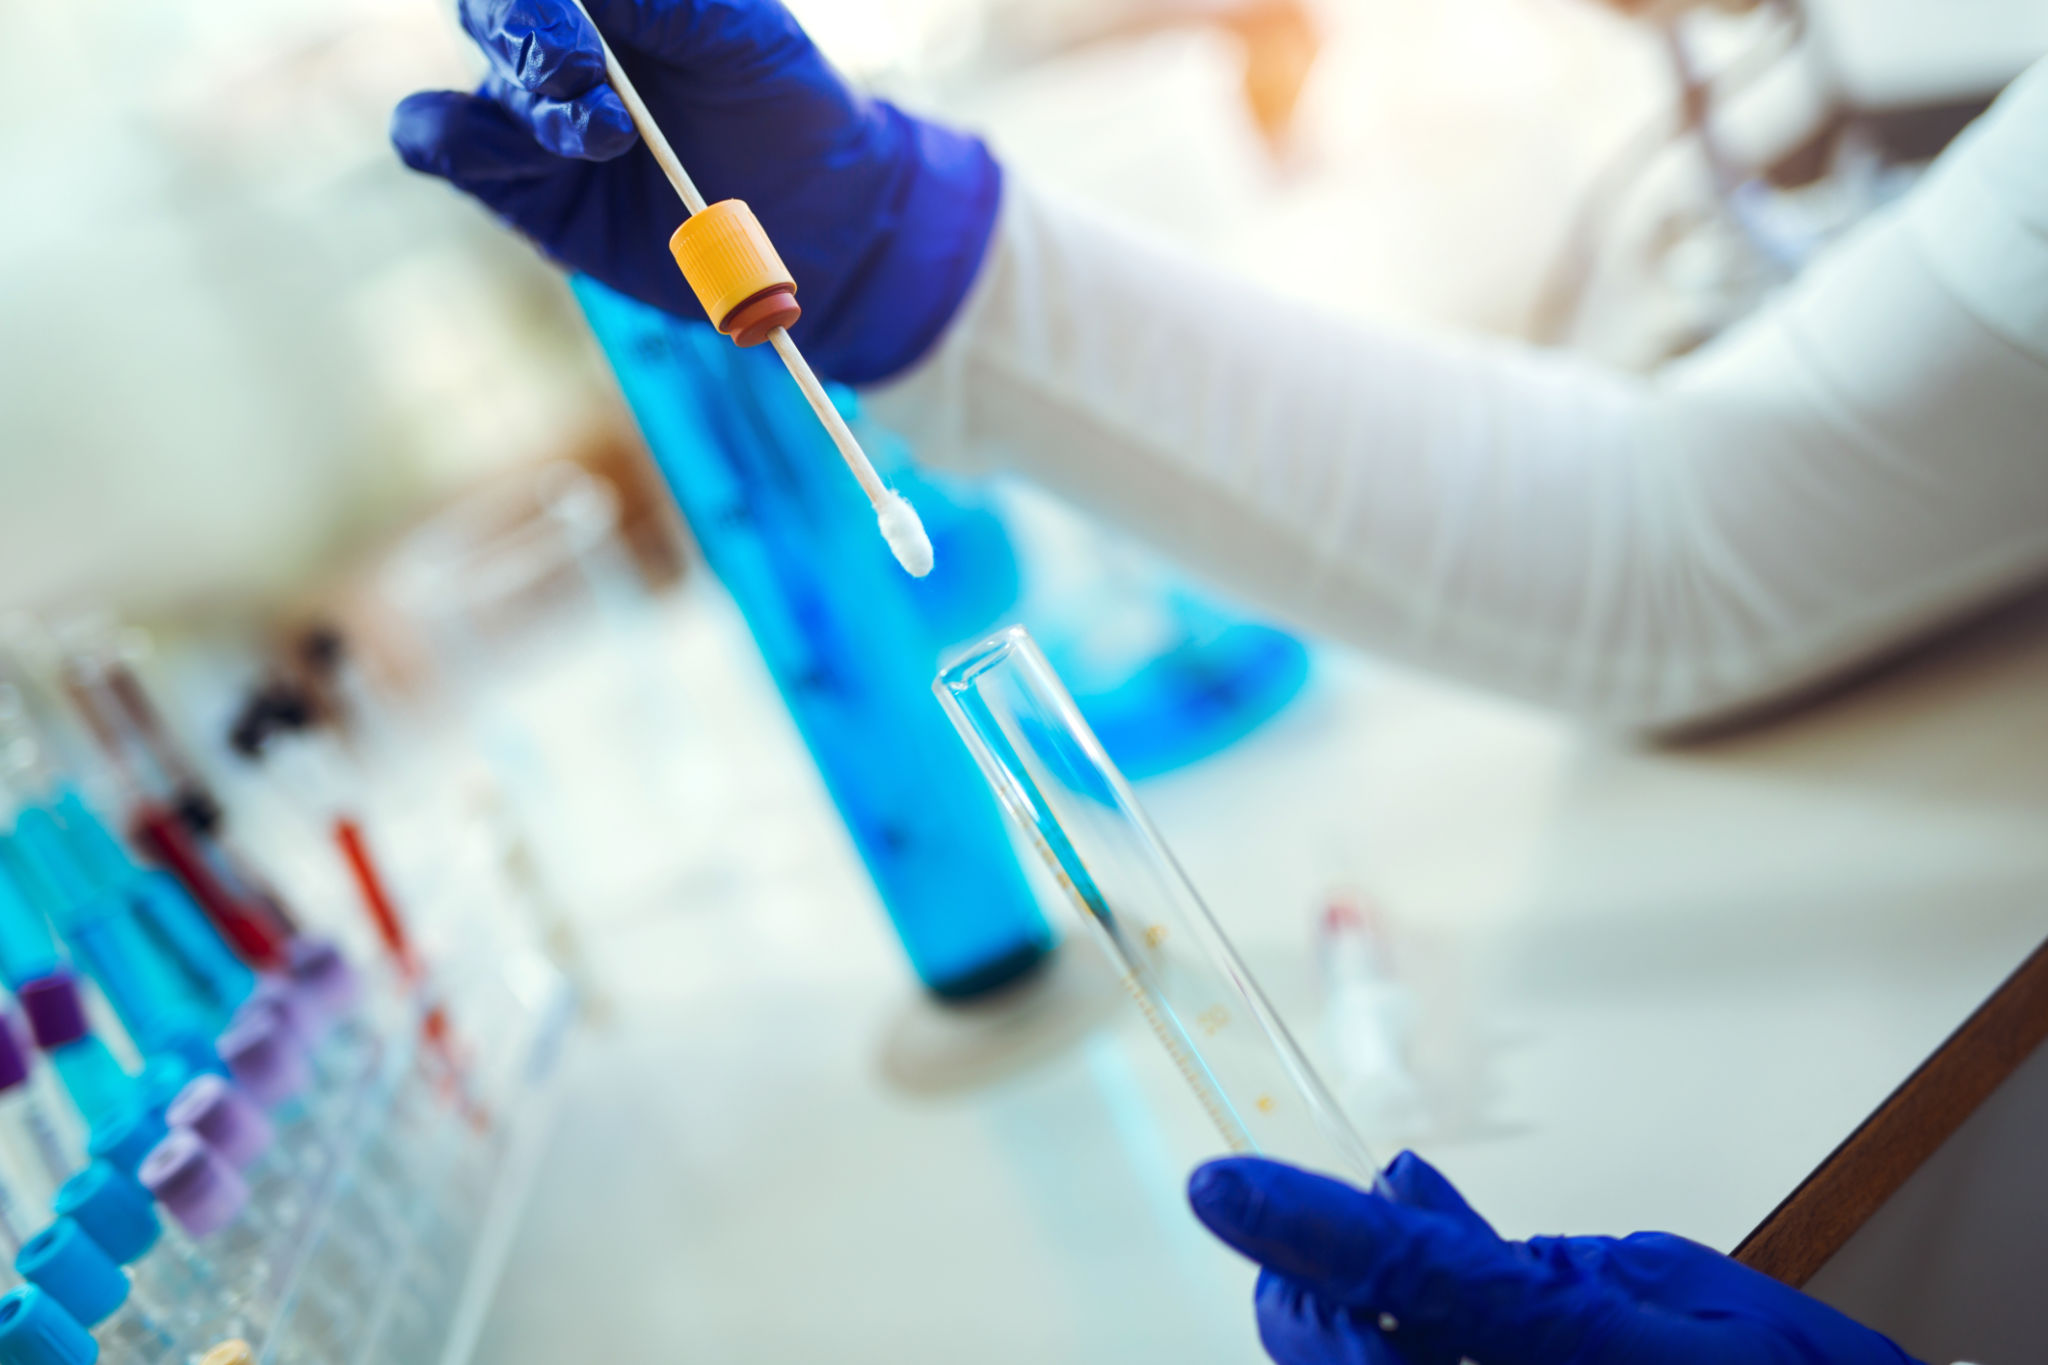
Sample Collection Tips
For best results, ensure that your hands are clean before handling the kit materials. Use the swab or collection tool provided and follow all instructions meticulously. Once collected, secure your sample in the provided container and make sure it is sealed tightly to avoid contamination.
Step 4: Sending Your Sample for Analysis
Once you've collected your DNA sample, it's time to send it back for analysis. Use the prepaid envelope included in your kit to mail your sample to the testing laboratory. Most services provide tracking information so you can monitor when your sample arrives at the lab.
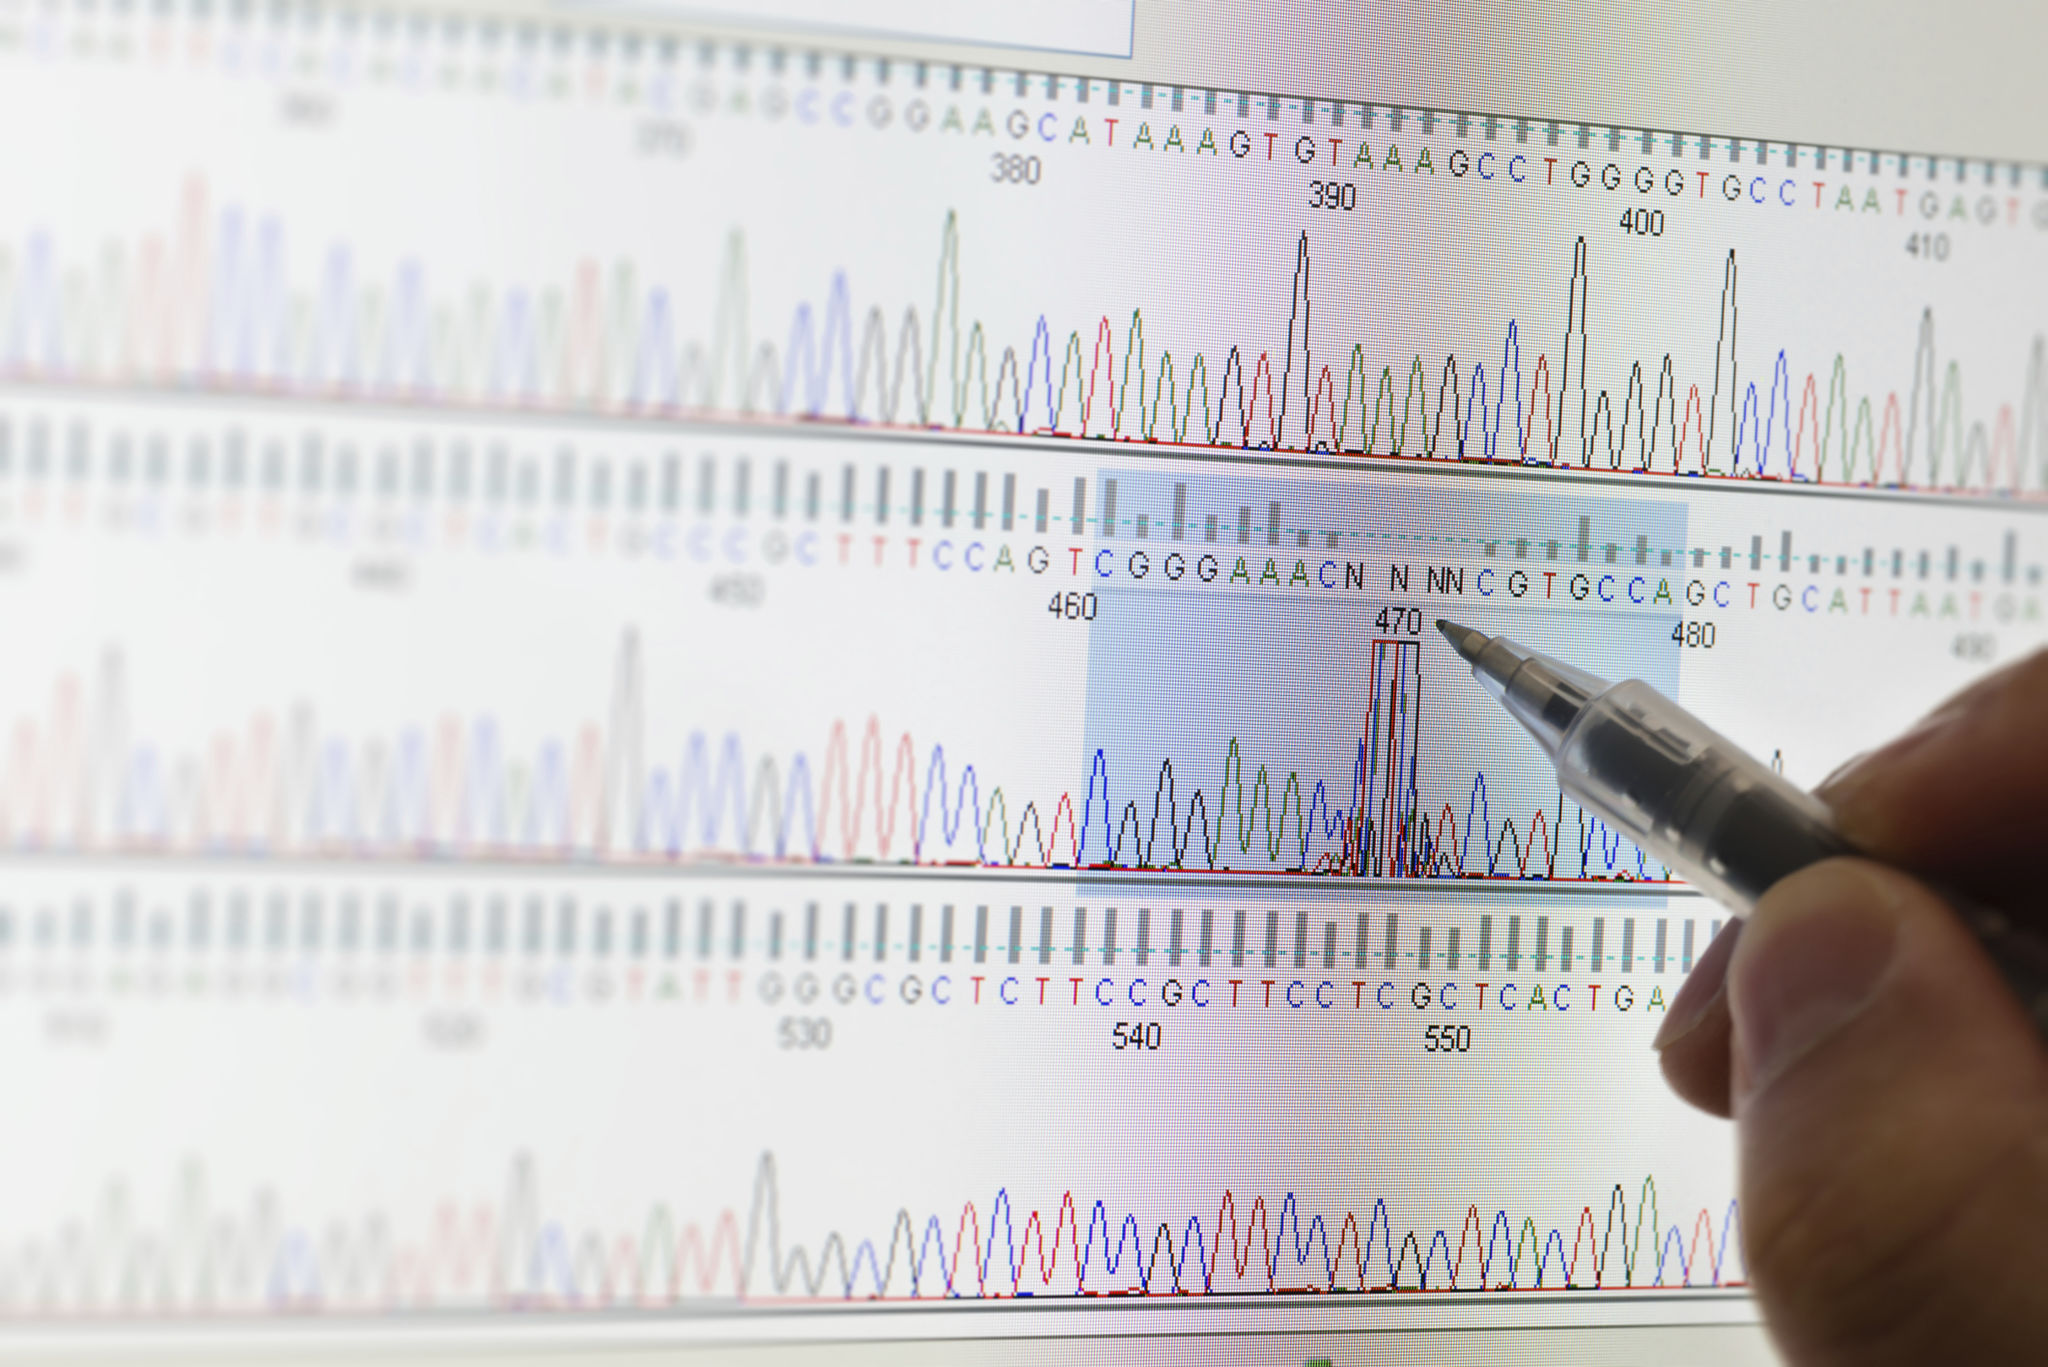
Understanding the Analysis Process
Upon arrival at the lab, your sample undergoes analysis by trained professionals using advanced genetic sequencing technologies. This process typically takes a few weeks, depending on the complexity of the test ordered.
Step 5: Receiving Your Results
After the analysis is complete, you will receive your results through a secure online portal or via mail. The results will be accompanied by detailed explanations and, in some cases, recommendations for further action based on your genetic profile.
Interpreting Your Results
Your results will include insights into your genetic makeup based on the type of test you selected. If you opted for health-related testing, you'll receive information about potential genetic predispositions and risk factors. For ancestry testing, expect a breakdown of your ethnic background and potential connections to relatives.
In conclusion, mobile DNA testing provides a seamless and efficient way to access valuable genetic information. By following this step-by-step guide, you can confidently navigate the process and gain insights that can inform personal decisions about health and family history.